

Create your account
Sign up at app.erpoida.com with your work email. We send you a link to confirm the address; open it before you continue.
Connecting Claude or ChatGPT later needs a verified email address.
Tell us about your company
Three quick questions about your company. You can change any of them later.
Set your region
Choose your country, currency, time zone, language and the month your financial year starts.
Check the currency carefully. It is recorded on every invoice and accounting entry, and changing it later does not update records that already exist. In Germany you also choose your DATEV chart of accounts (SKR03 or SKR04) here. It can only be chosen once, so ask your tax advisor if you are unsure.
Add your invoice details
Your address and tax details, printed on the invoices you send. The step is optional and you can add them later.
In Germany it is required: § 14 UStG asks for your full address and your VAT ID or tax number on every invoice, and invoices cannot be posted without them.
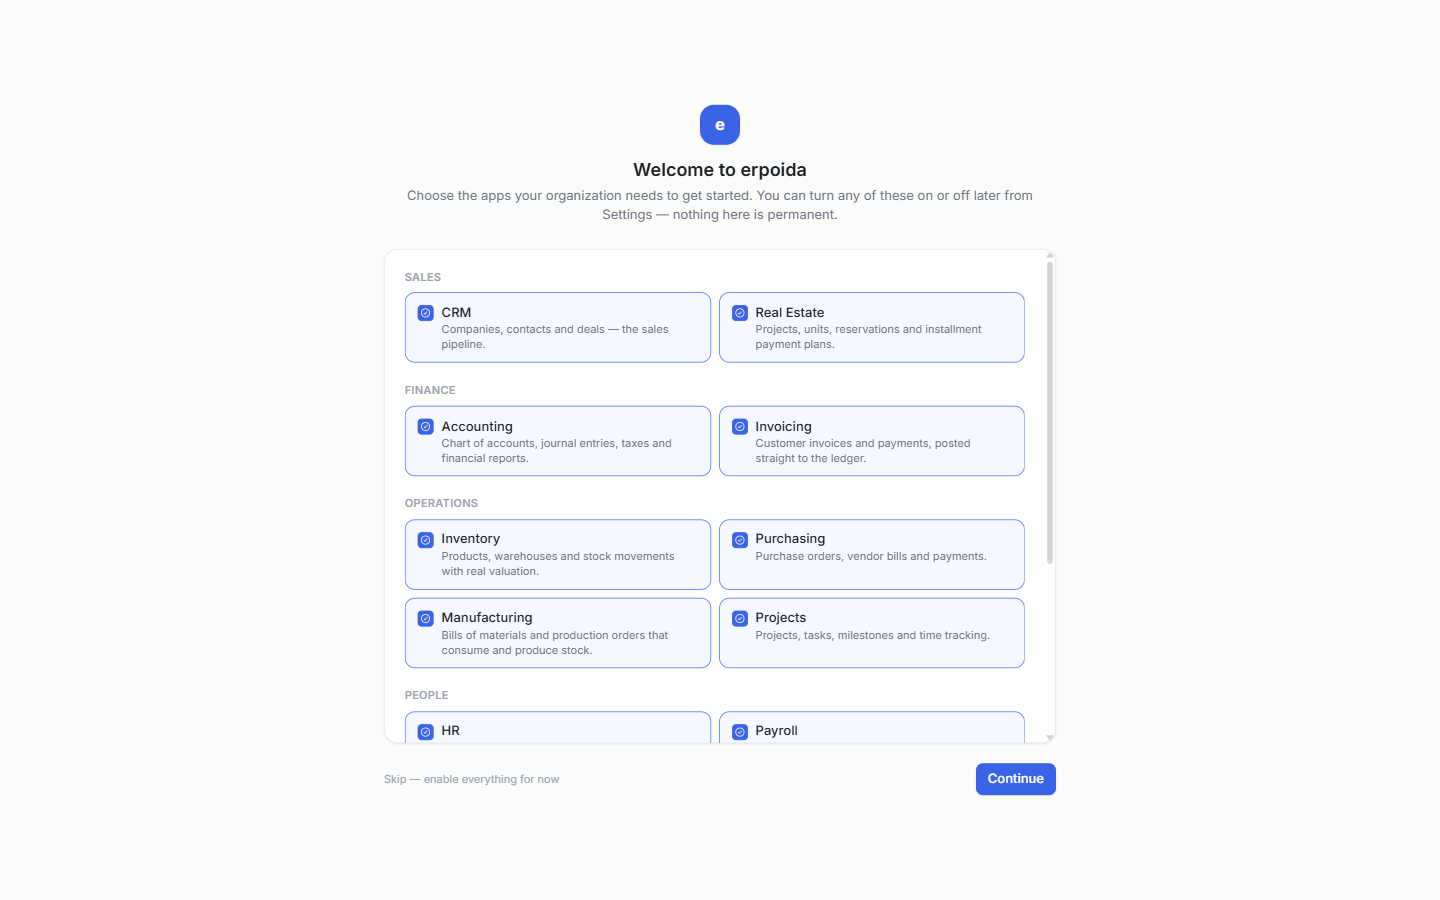
Choose your apps
Pick the business apps your organization needs, such as CRM, accounting, invoicing, inventory, purchasing, projects, HR and payroll.
Nothing here is permanent. An admin can switch any app on or off later in Settings → Apps, and switching an app off never deletes its data.
Invite your team
Add people in Settings → Members and give each one a role. A role decides what that person can see and change, and the assistant working for them gets exactly the same rights.
Try the assistant
Open the Assistant and ask for something real, for example “Show my open deals grouped by stage.” It works through your permissions, and the tools it calls are recorded in the action log.
Getting started with ERPoida
From a new account to a working setup. The app walks you through the same steps in this order.
7 stepsFor the person setting up the workspace